This is a guide to rebuilding the main seal on a WE M4 GBBR mag, I hope those with a leaking main seal or knocker valve who want to repair their mag on their own appreciate it. A similar guide to this exists (made by coachster) for repairing GBB mags which is what I based my work off here:
http://www.airsoftcanada.com/showthread.php?t=88524
UPDATE Jan 25th 2012 - As I've changed my technique somewhat I thought it was time to update things here. New technique involves switching from using Permatex Blue Gasket Maker to
Permatex Black Gasket Maker and discarding the black rubber gasket that comes with the mags.
Sealant is required, this can be purchased at Canadian Tire, just look for Black Gasket Maker. It will be around the same area as other sealants and lubricants like the super lube recommended for cleaning and lubricating the M4 itself:
http://www.airsoftcanada.com/showthread.php?t=104159
Other required items for this will be Q-Tips (or some other form of stick to paste the sealant onto the mag) and cleaning patches (for real firearms) or something else to clean the parts of the mag, rubber seals and can be used to wipe up extra gasket maker that won't leave anything behind to contaminate the seal with. You can purchase cleaning patches from any store that sells firearms/hunting stuff for dirt cheap and they're useful for cleaning your GBBR too. Either that or you can sit there and tear up small squares of paper towel or something.
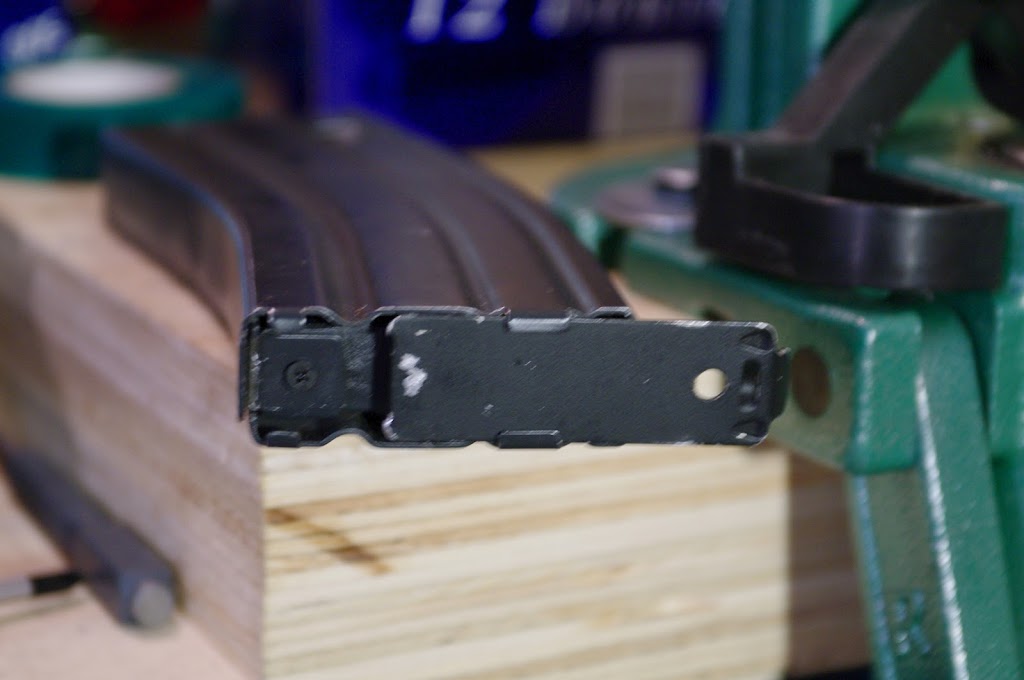
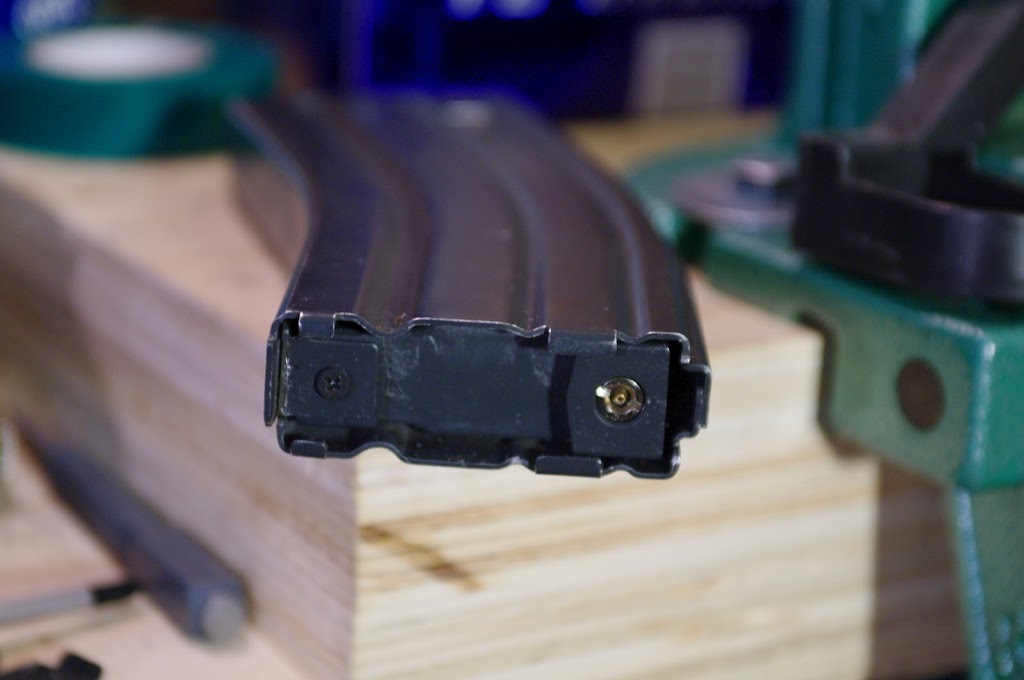
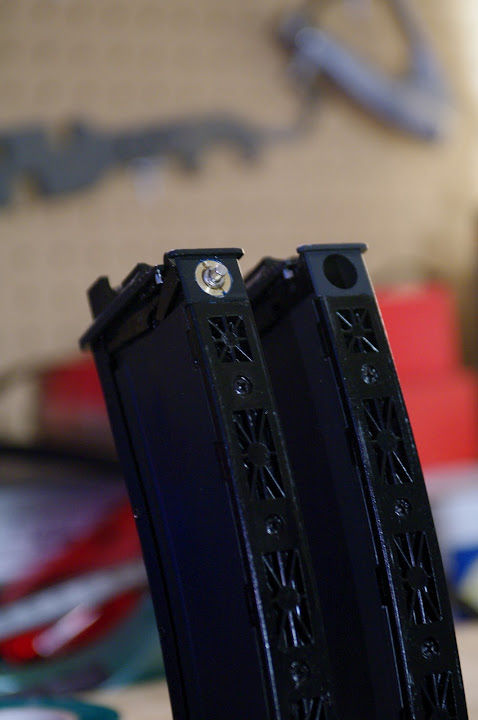
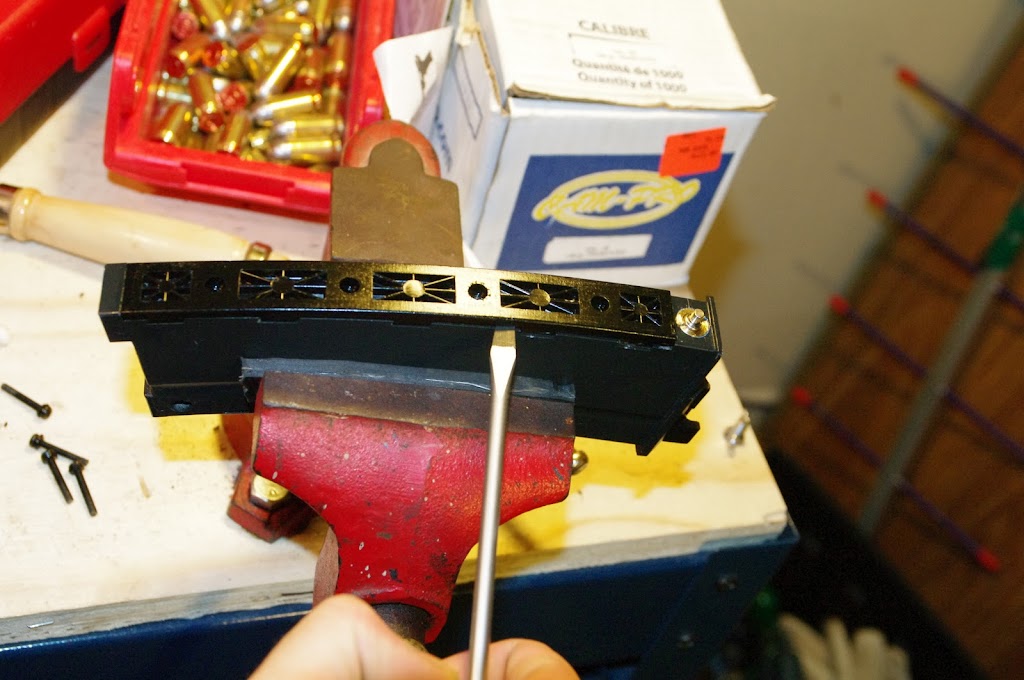
The first step is to remove the outer mag shell, use a flathead screwdriver to get the bottom plate off the mag. There are two small metal catches that must clear the shell for the plate to slide off. Once off in the final image below here you will see a single Phillips screw, this is the only thing keeping the guts of the mag attached to the shell:
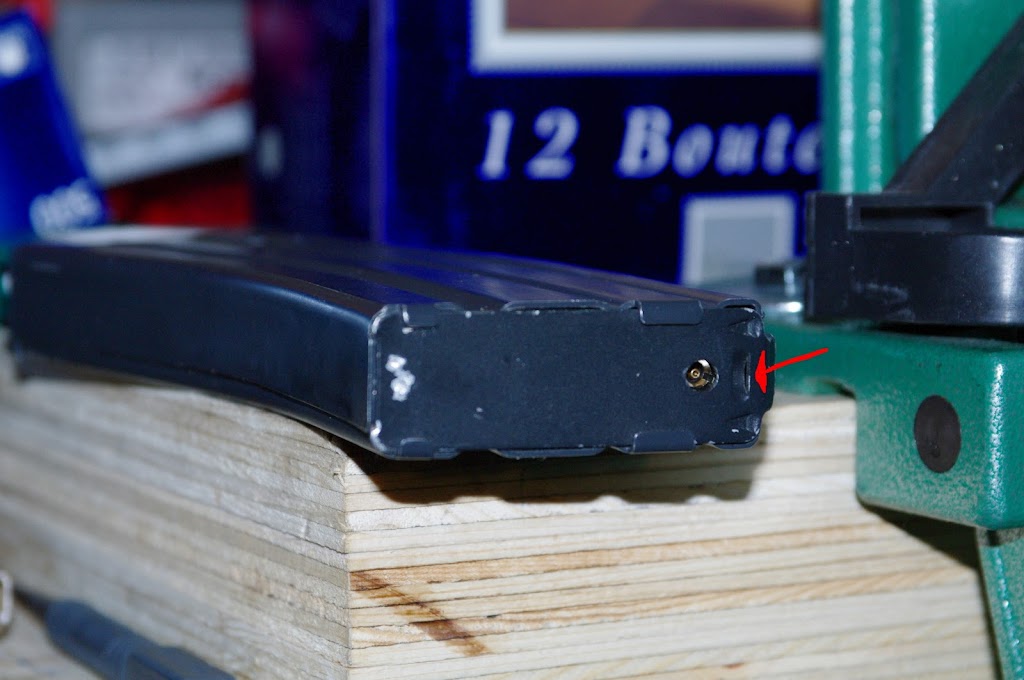
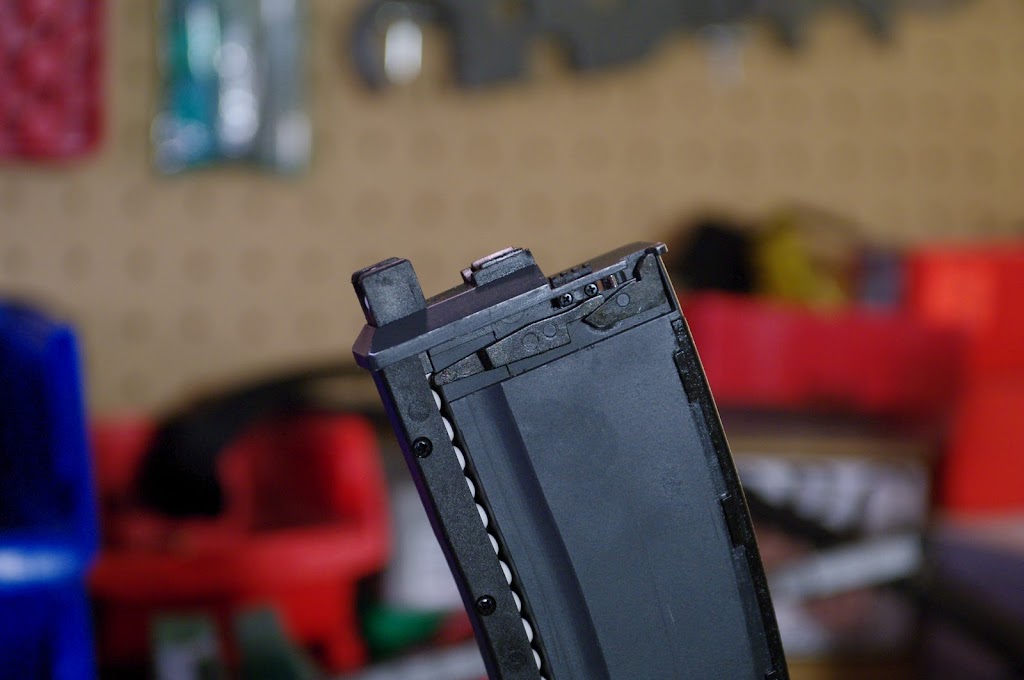
Take care to not lose the armature that controls the slide lock feature on the mag, these are just held on by the presence of the mag casing, once it's removed they can fall off easily. If you look at this picture you'll see they're just held on each by a single untapered pin:
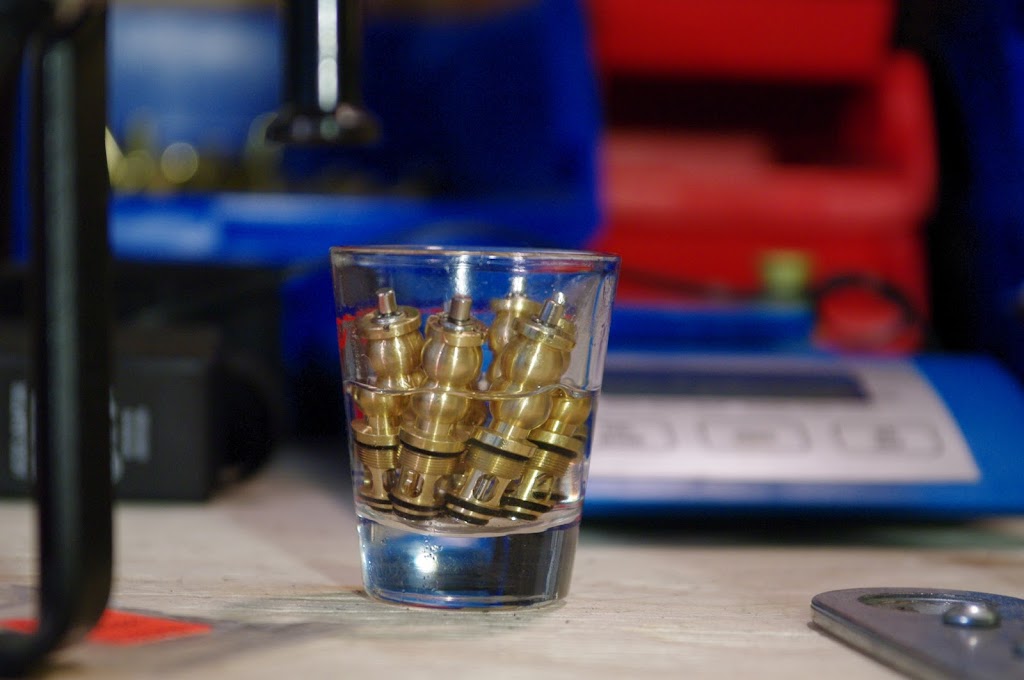
Remove the knocker valve from the mag so it can be cleaned and oiled up. To do this you're going to need to purchase a valve key, build one yourself or improvise. You need something sturdy enough to be able to screw it back in fully afterwards. Be careful not to scratch or mar anything here, metal shavings are not exactly good to have near gas seals:
Once you have the valves out use some cleaning patches to wipe down the o-rings, inspect them for damage too. The beauty of gasket maker is it will work here too if you notice there is a damaged O-ring on the outer seal (largest seal, oriented to the top in the picture), however if the other two have gone you might not be able to use this technique and would likely be better to simply find replacement O-ring's. Immerse the knocker valve in oil, if you can action the valves a bit while submersed. Try to use standard silicon oil if you can, however I've had great results getting problematic valves to seal after soaking them in this for awhile in grenade oil too:
 ADDITION
 When cleaning the knocker valve if your valves stick or are very dirty you should disassemble them and clean them out. Also take the time to inspect the O-Rings for damage. There is an O-ring inside the knocker valve that is not displayed in any of the pictures which should be checked for damage/debris.
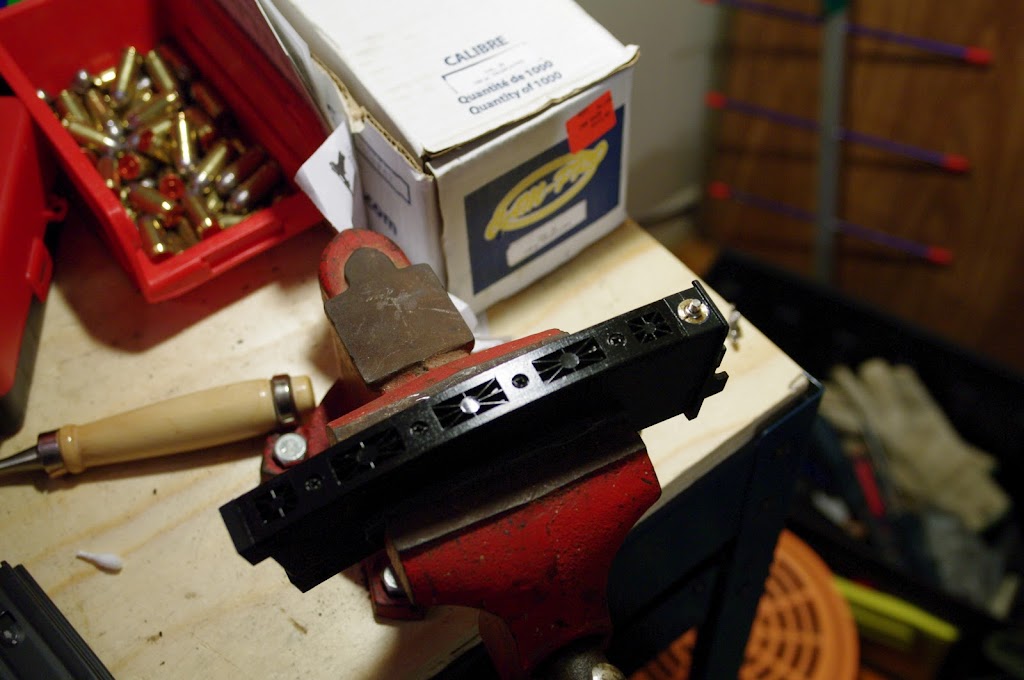
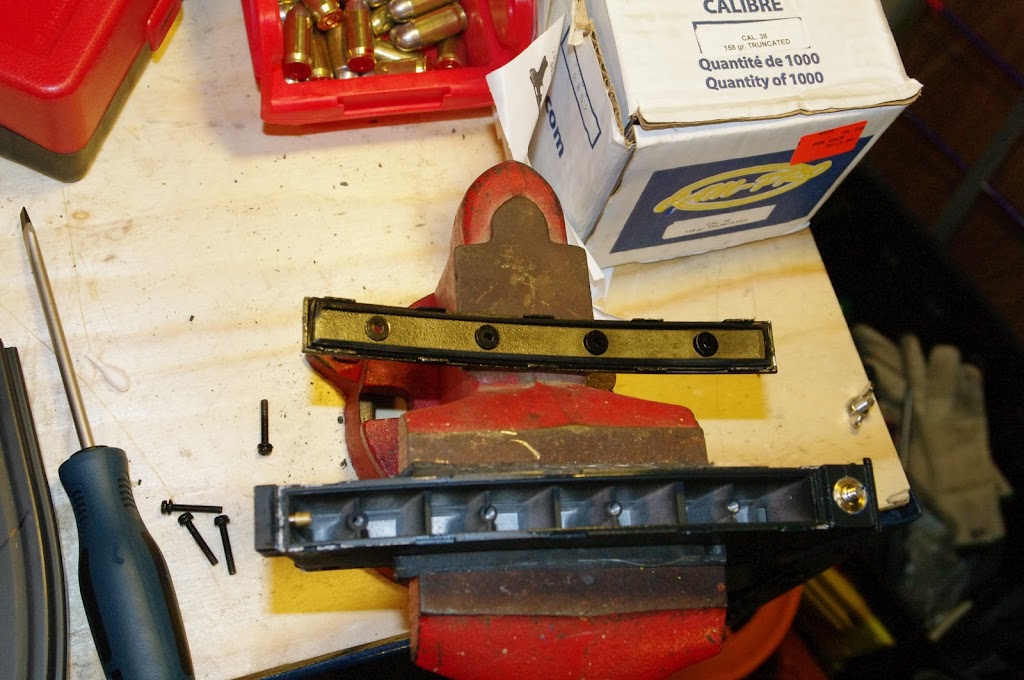
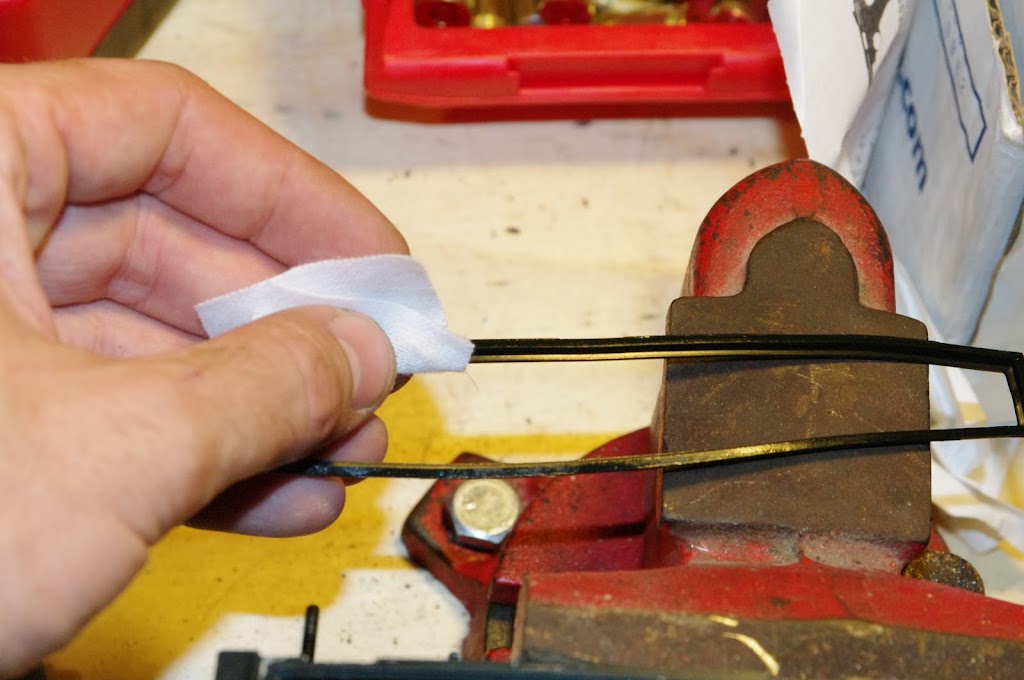
Remove the screws from the back of the mag to free the metal plate so you can get to the seal. If you look closely you'll notice that the red vice has black rubber grips, don't screw around with metal on metal and mangle your stuff. For other purposes I'd already replaced the metal grips on my vice with rubber chunks I had cut from an unused mudguard for a car:
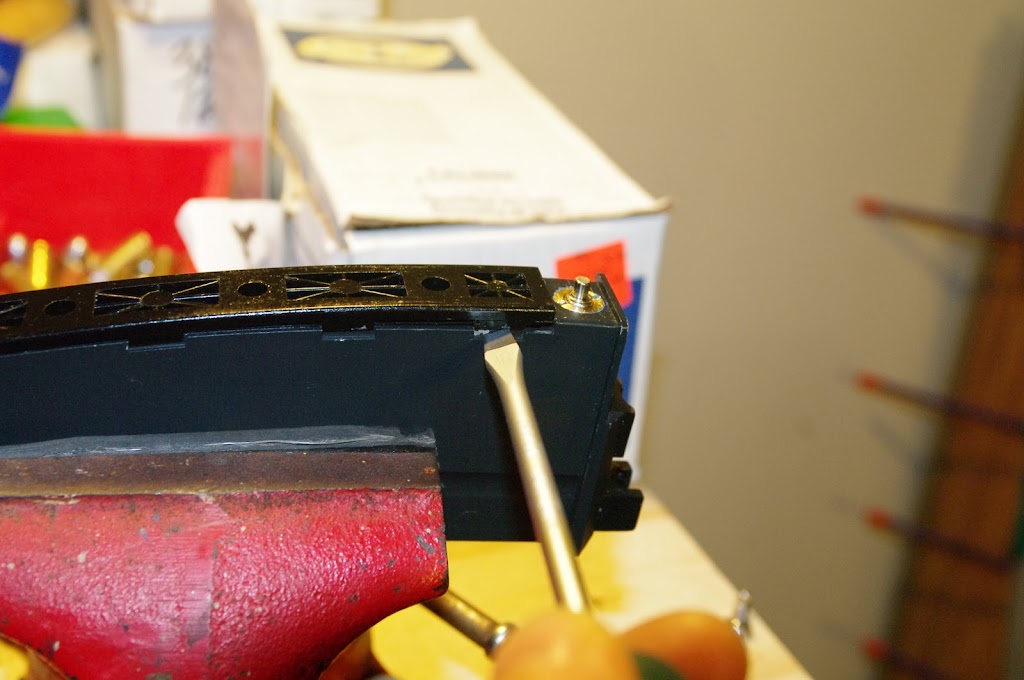
After screws are removed us a thin flathead to gently pry the metal backplate from the mag:

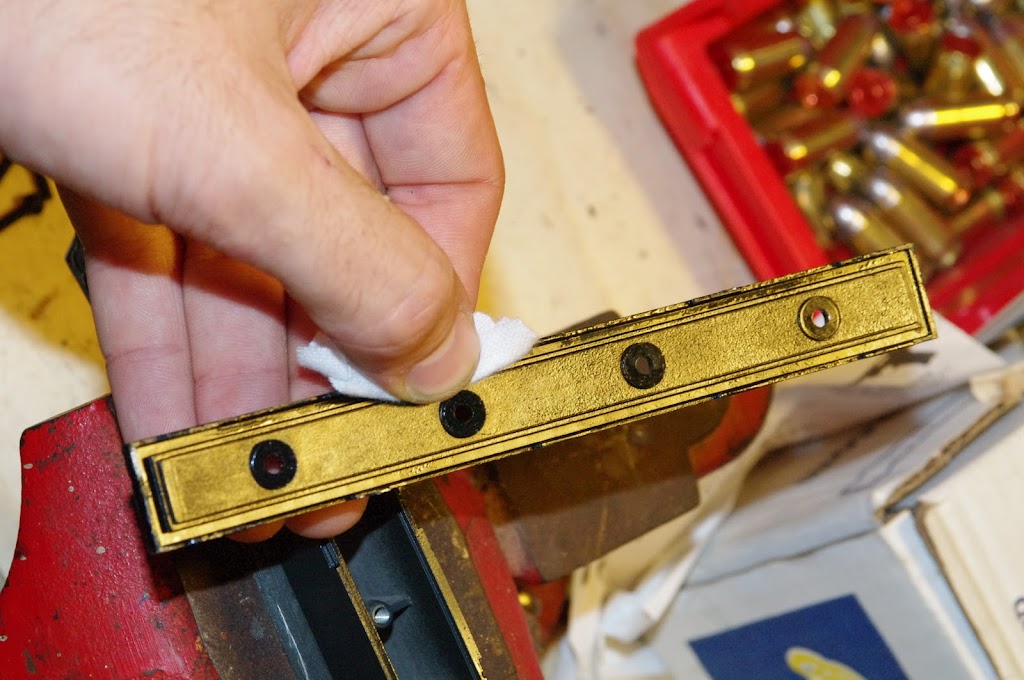
Once you pry it off typically you'll note the rubber seal will remain attached to the removable back plate. Seems sometimes it's got a bit of glue holding it in while other times it doesn't. You will need to gently peel this rubber seal off the backplate so you can clean it, the groove the seal mates with on the backplate and the groove it mates with on the mag body:
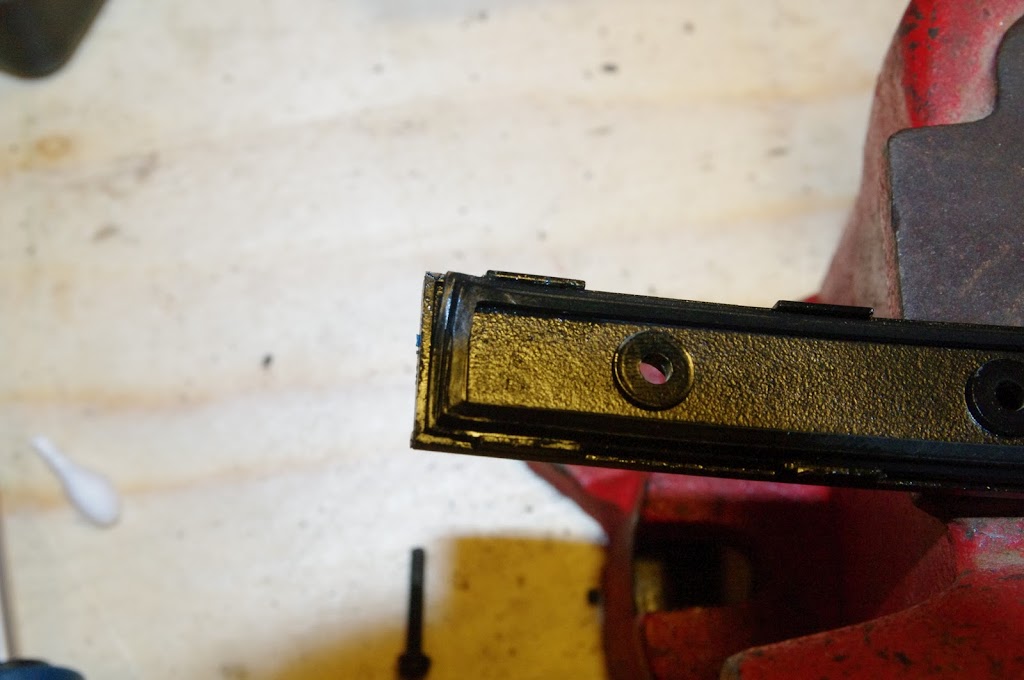
Use some cloth patches to clean the rubber seal and the edges it contacts. I didn't get a picture of it but make sure to clean the groove for the seal on the mag body/housing as well. This is required to ensure there isn't any dirt left behind to interfere with the new seal you're going to create:
 ADDITION
 I no longer bother retaining the main seal's rubber gasket and now discard it so if you follow the new technique you can skip this part. You still need to clean up the mating surfaces on the mag and the back-plate however.
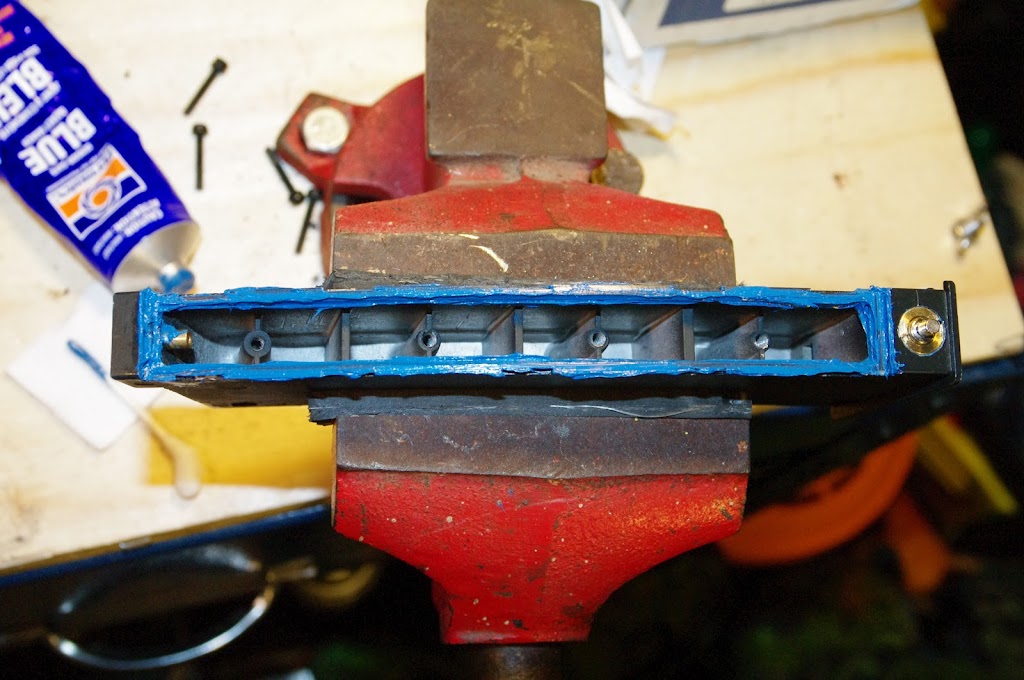
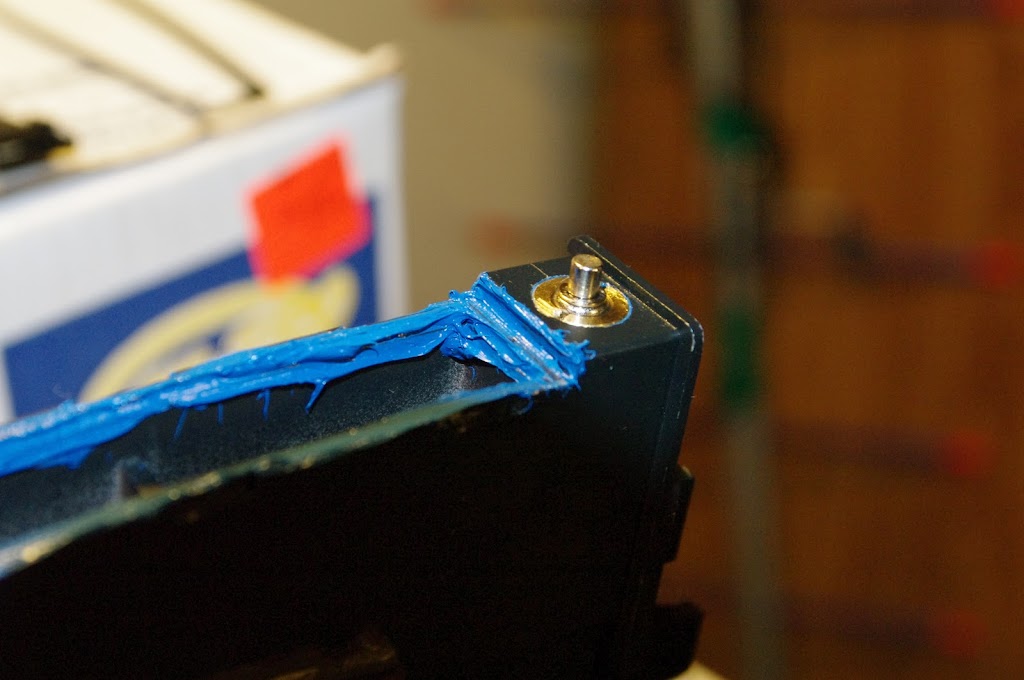
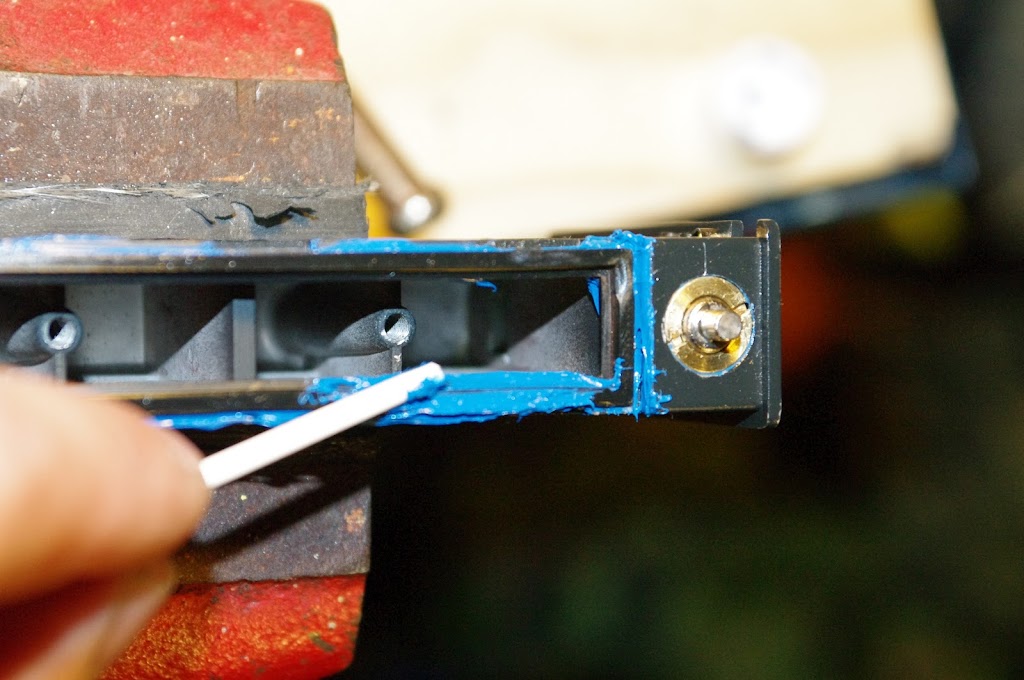
Now it's time to make your new seal! The mag should still be in the vice to hold it, or some other clamp so it doesn't move around on you. It's a lot easier this way rather than holding the mag in one hand and the q-tip/toothpick in the other with sealant on it. What I've used here is just Q-Tips, I break one end off so it's like a little stick and then use that end to spread the gasket maker. As you can see it gets applied rather liberally. You want to make sure you get it into the groove on the mag so there are no gaps or air pockets left in there:
 ADDITION
 Q-tips are no longer required! Just cut the nozzle that came with the gasket maker near the tip so you can produce a bead of gasket maker around the mag. You will need to apply more sealant to make up for the missing gasket. You can skip down to the next step where you replace the back plate for the mag in this case.
Once you've put gasket maker on the mag body you then need to replace the rubber gasket that was removed, it will slot into place still, you will displace a bit of the blue gasket maker doing so but that's ok:

 Note:
Note: in this last picture you can see that I used some gasket sealer on my knocker valve for this mag. This was after I discovered a leak around the knocker valve socket that was occurring regardless of replacing said valve or cleaning the socket for the valve. Covered the outer O-ring in gasket sealer and screwed 'er in, hasn't given me trouble since.
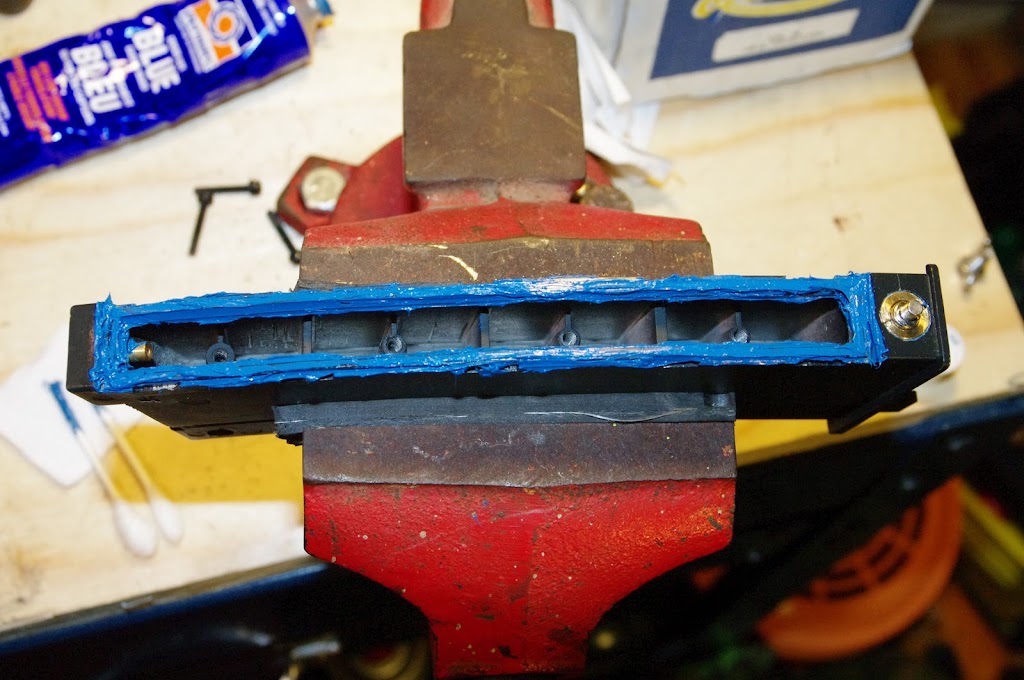
With the original rubber gasket in place over the first layer of blue gasket maker you now need to apply a second layer to the currently untouched side of the rubber gasket:
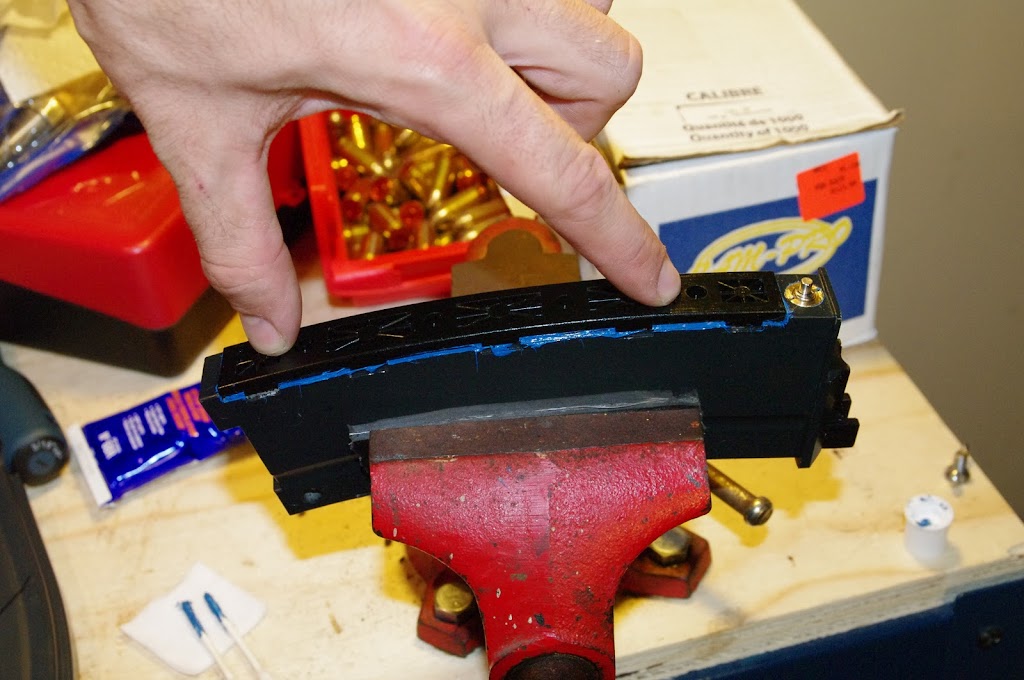
Now that the rubber gasket is contained in a coating of blue gasket maker it's time to complete the gasket sandwich by replacing the back plate on the mag:

Be careful as you seat the back plate such that it seats evenly, you don't want one end flush with the housing and the other sticking up. As you push down some of the gasket maker will start to ooze out the sides, that's OK:
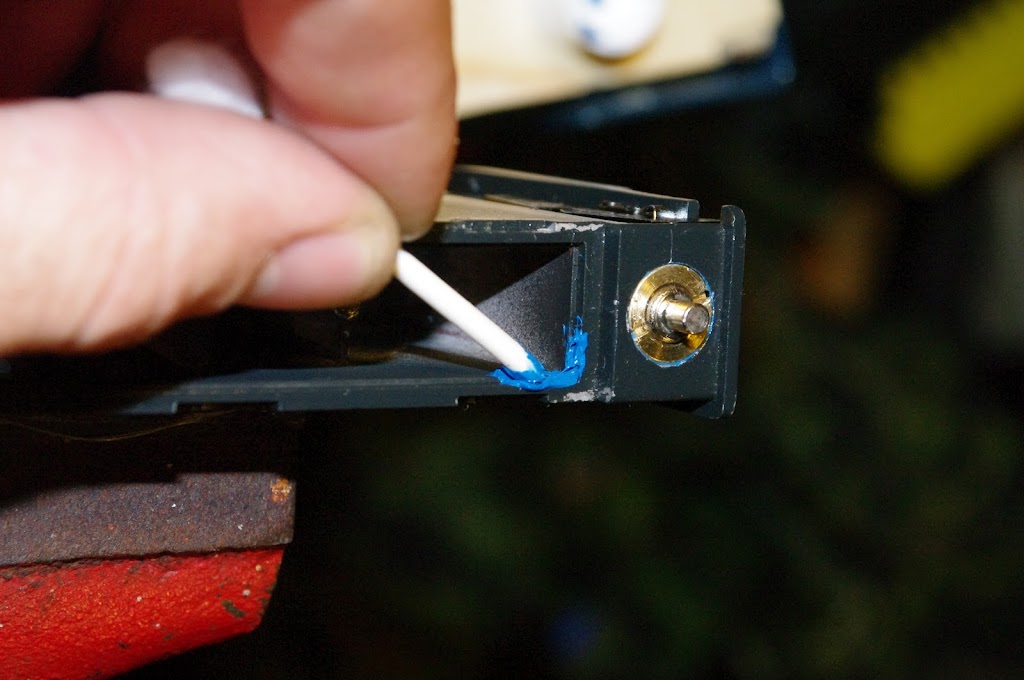
Put gasket maker around the rubber O-rings on the screws to ensure they form a good seal too, you don't want to be losing gas from these either:
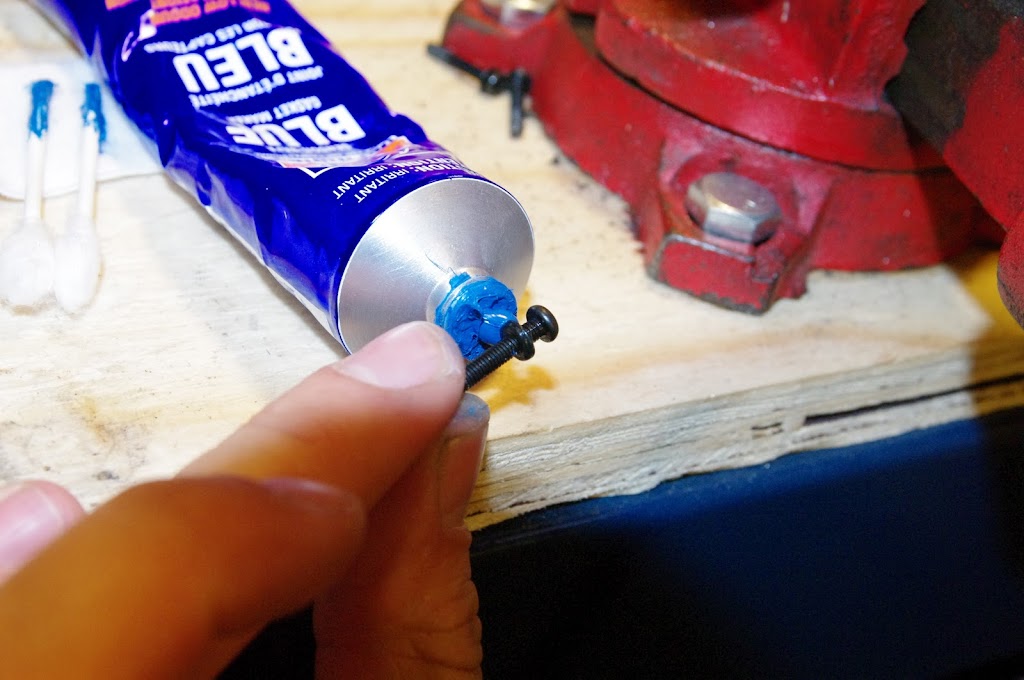
 Note
Note my thumb is a little blue here, gasket maker is messy stuff you may want to use gloves when you work with it. Either that or get some good soap to wash up with afterwards.
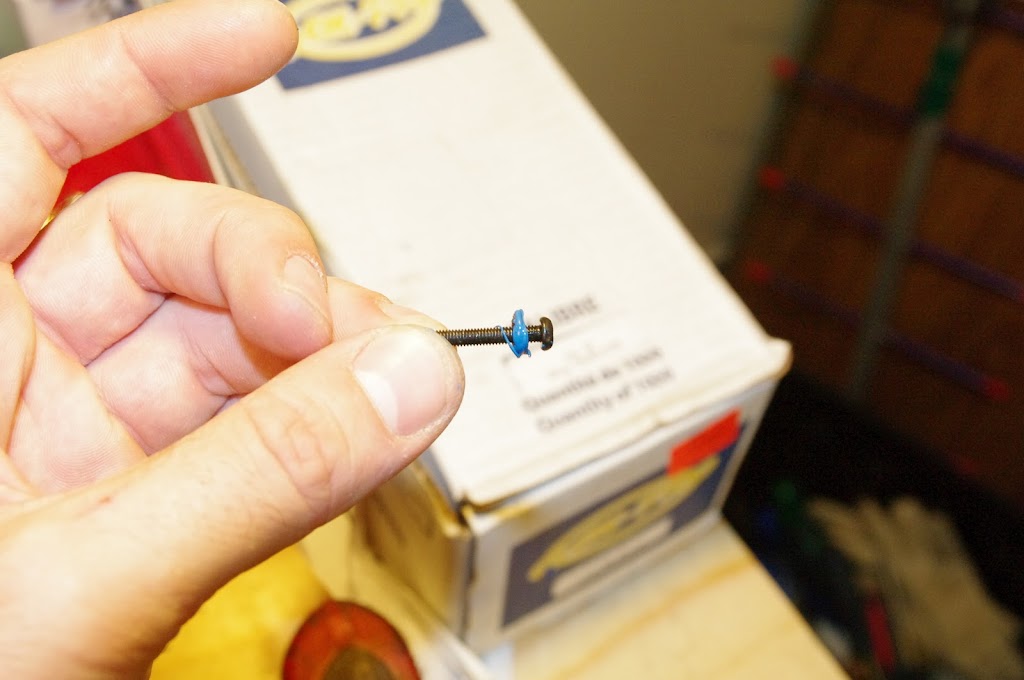
Place each screw into one of the four sockets on the back of the mag and push them in. It's easier (and less messy) to use the screwdriver to start them off with gently rather than starting them with your fingers and bluing up your hands even more:
Now this is
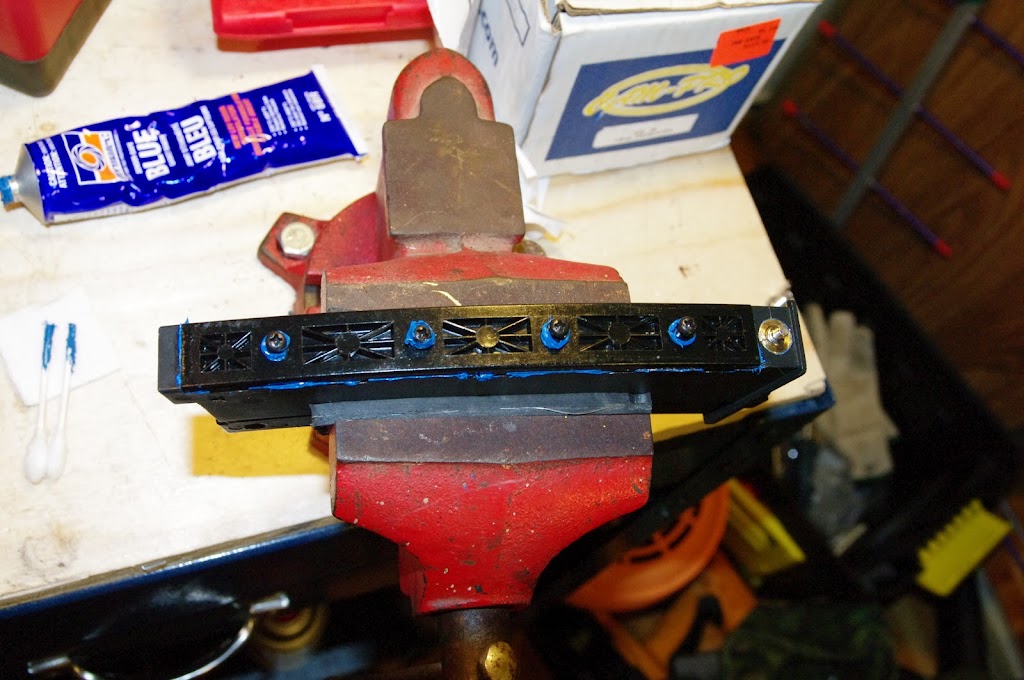
important! When you screw down the back plate you can't just fully tighten each screw one after the other. You have to ease each of them down so the back plate mates correctly with the mag housing. Start with one end of the mag and get the screw to catch on the thread, tighten it up until it just begins to put force on the back plate of the mag. IE as soon as you see the back plate start to be pushed towards the mag housing STOP. Switch to the screw at the opposite end and repeat, then do the two in the middle. Now slowly start to tighten up the screws at either end of the mag switching back and forth between them. You don't want to go all the way at first, leave at least one to two millimeters of travel to allow the seal to begin curing. After roughly an hour come back and fully tighten it down. This ensures that as the back plate gets closer to the mag that it's flush and not at an angle. It is important to allow for the hour of initial curing before fully tightening so as to make a good tight seal. Think of the star pattern you're supposed to follow when putting on a car tire, same idea.
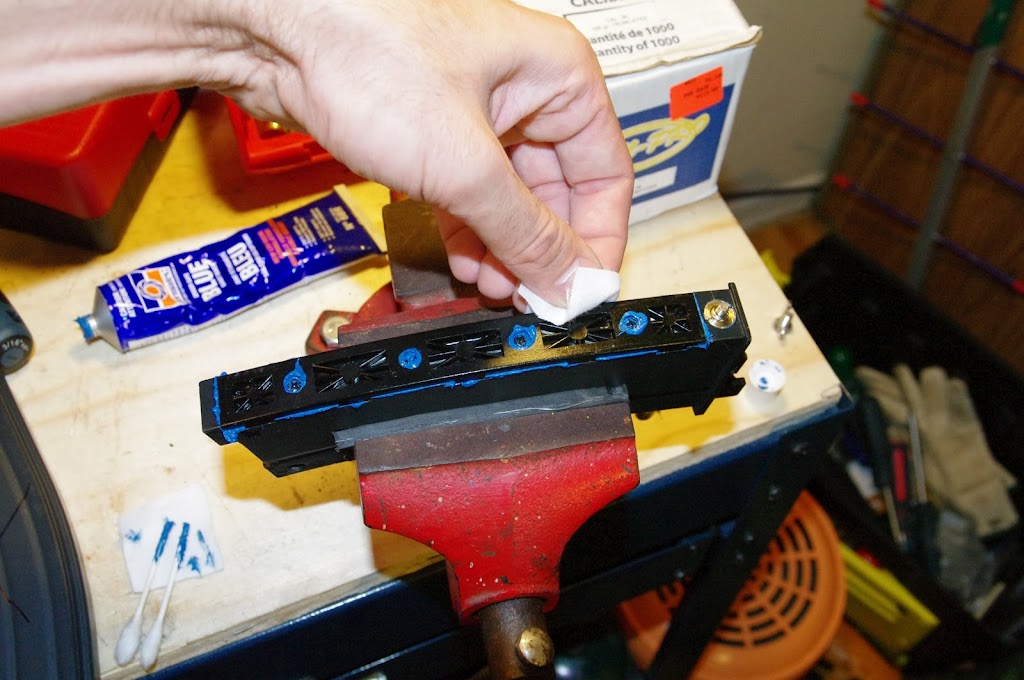
After you've got the back plate securely tightened onto the mag again you're going to need to clean off the excess gasket maker that has oozed out of the seal and from each of the four screw holes:
 ADDITION
 This will be much easier if you just wait for the gasket maker to dry and then cut the excess off with a sharp knife or simply peel it away by hand.
In the end you will be left with a mag with a fully rebuilt seal and a freshly oiled knocker valve!
ALLOW THE SEALANT TIME TO CURE
Make sure to give your mags about a week to cure. Gasket maker should be left for a while before applying pressure to it. Otherwise all that hard work may be for nothing and you'll spring a leak!
ADDITION Leave both the knocker valve and the fill valve out of the mag during curing to ensure air can circulate inside the mag to speed up the curing process. This stuff gives off a nice chemical odor while drying so you'll likely want to let them cure in the garage or somewhere way from where you normally sleep or eat.
I left the knocker valve out of the mag (although i didn't do that for the one I was getting pictures from) until I felt it was time to put gas in the mag again. This way it goes back in nice and oily and doesn't have any time to dry out (not that it would over a few days after being immersed but may as well bide your time there's no reason to rush). When you first gas the mag up just put a bit in to start with, enough to get it pressurized, then leave the mag inverted and rest it on some cloth. This will force the oil in the mag from the saturated knocker valve and any silicon oil in the propane used to fill the mag with to drip down to the bottom where the knocker valve is. If there is any gas leaking out of the knocker valve's seals still this will help correct it by ensuring the oil that is in the mag is passed over the damaged seal as it escapes. I've used this specific technique to fix a number of leaky knocker valves it seems to work well.
I'll update this as I get more experience repairing GBBR mags, perhaps with new problems I discover along the way. So far I've repaired 9 WE GBBR mags successfully. If you have busted ones and don't want to take the time to repair them yourself I can offer mag repair services.
ADDITION I've lost track of how many mags I've repaired now. It's likely somewhere between 50 to 100. Switching over to the black gasket maker was done more recently as it is easier to remake seals with (cleaning out blue gasket maker is a pain compared to black gasket maker when repairing a resealed mag) and is tougher than the blue stuff. When repairing a broken seal the blue sealant comes off in flakes and chunks while the black sealant retains its form much better.